 www.theconnectionsnj.com
Health and Wellness
PAGE 58
New Hours:
Mon., Tues., Thurs. 7-11am & 2-6pm • Fri. 10am-3pm
Sports Injuries • Sprains & Strains
Auto Accidents
Accepting New Patients
with
IDD Therapy
®
Protocols
Revolutionary, Scientifically Proven
Medical Technology that Treats &
Rejuvenates Herniated/Ruptured
Degenerative & Bulging Discs,
Spinal Stenosis & Facet Syndrome…
WITHOUT SURGERY!
STOP
PAIN
NOW!
Specialists in Treating the Cause of…
• Head Aches • Neck Pain • Shoulder, Arm, Wrist & Hand Pain
• Mid-Back Pain • Low Back, Leg, Ankle & Foot Pain
• Tingling in Arms, Hands, Legs or Feet • Sciatica • Carpal Tunnel
Most
Insurance
Accepted
154 Adamsville Road N., Bridgewater, NJ 08807
Steven C. Balestracci,
D.C., C.C.P.C.P.
Terresa D. Balestracci,
D.C., C.C.P.C.P.
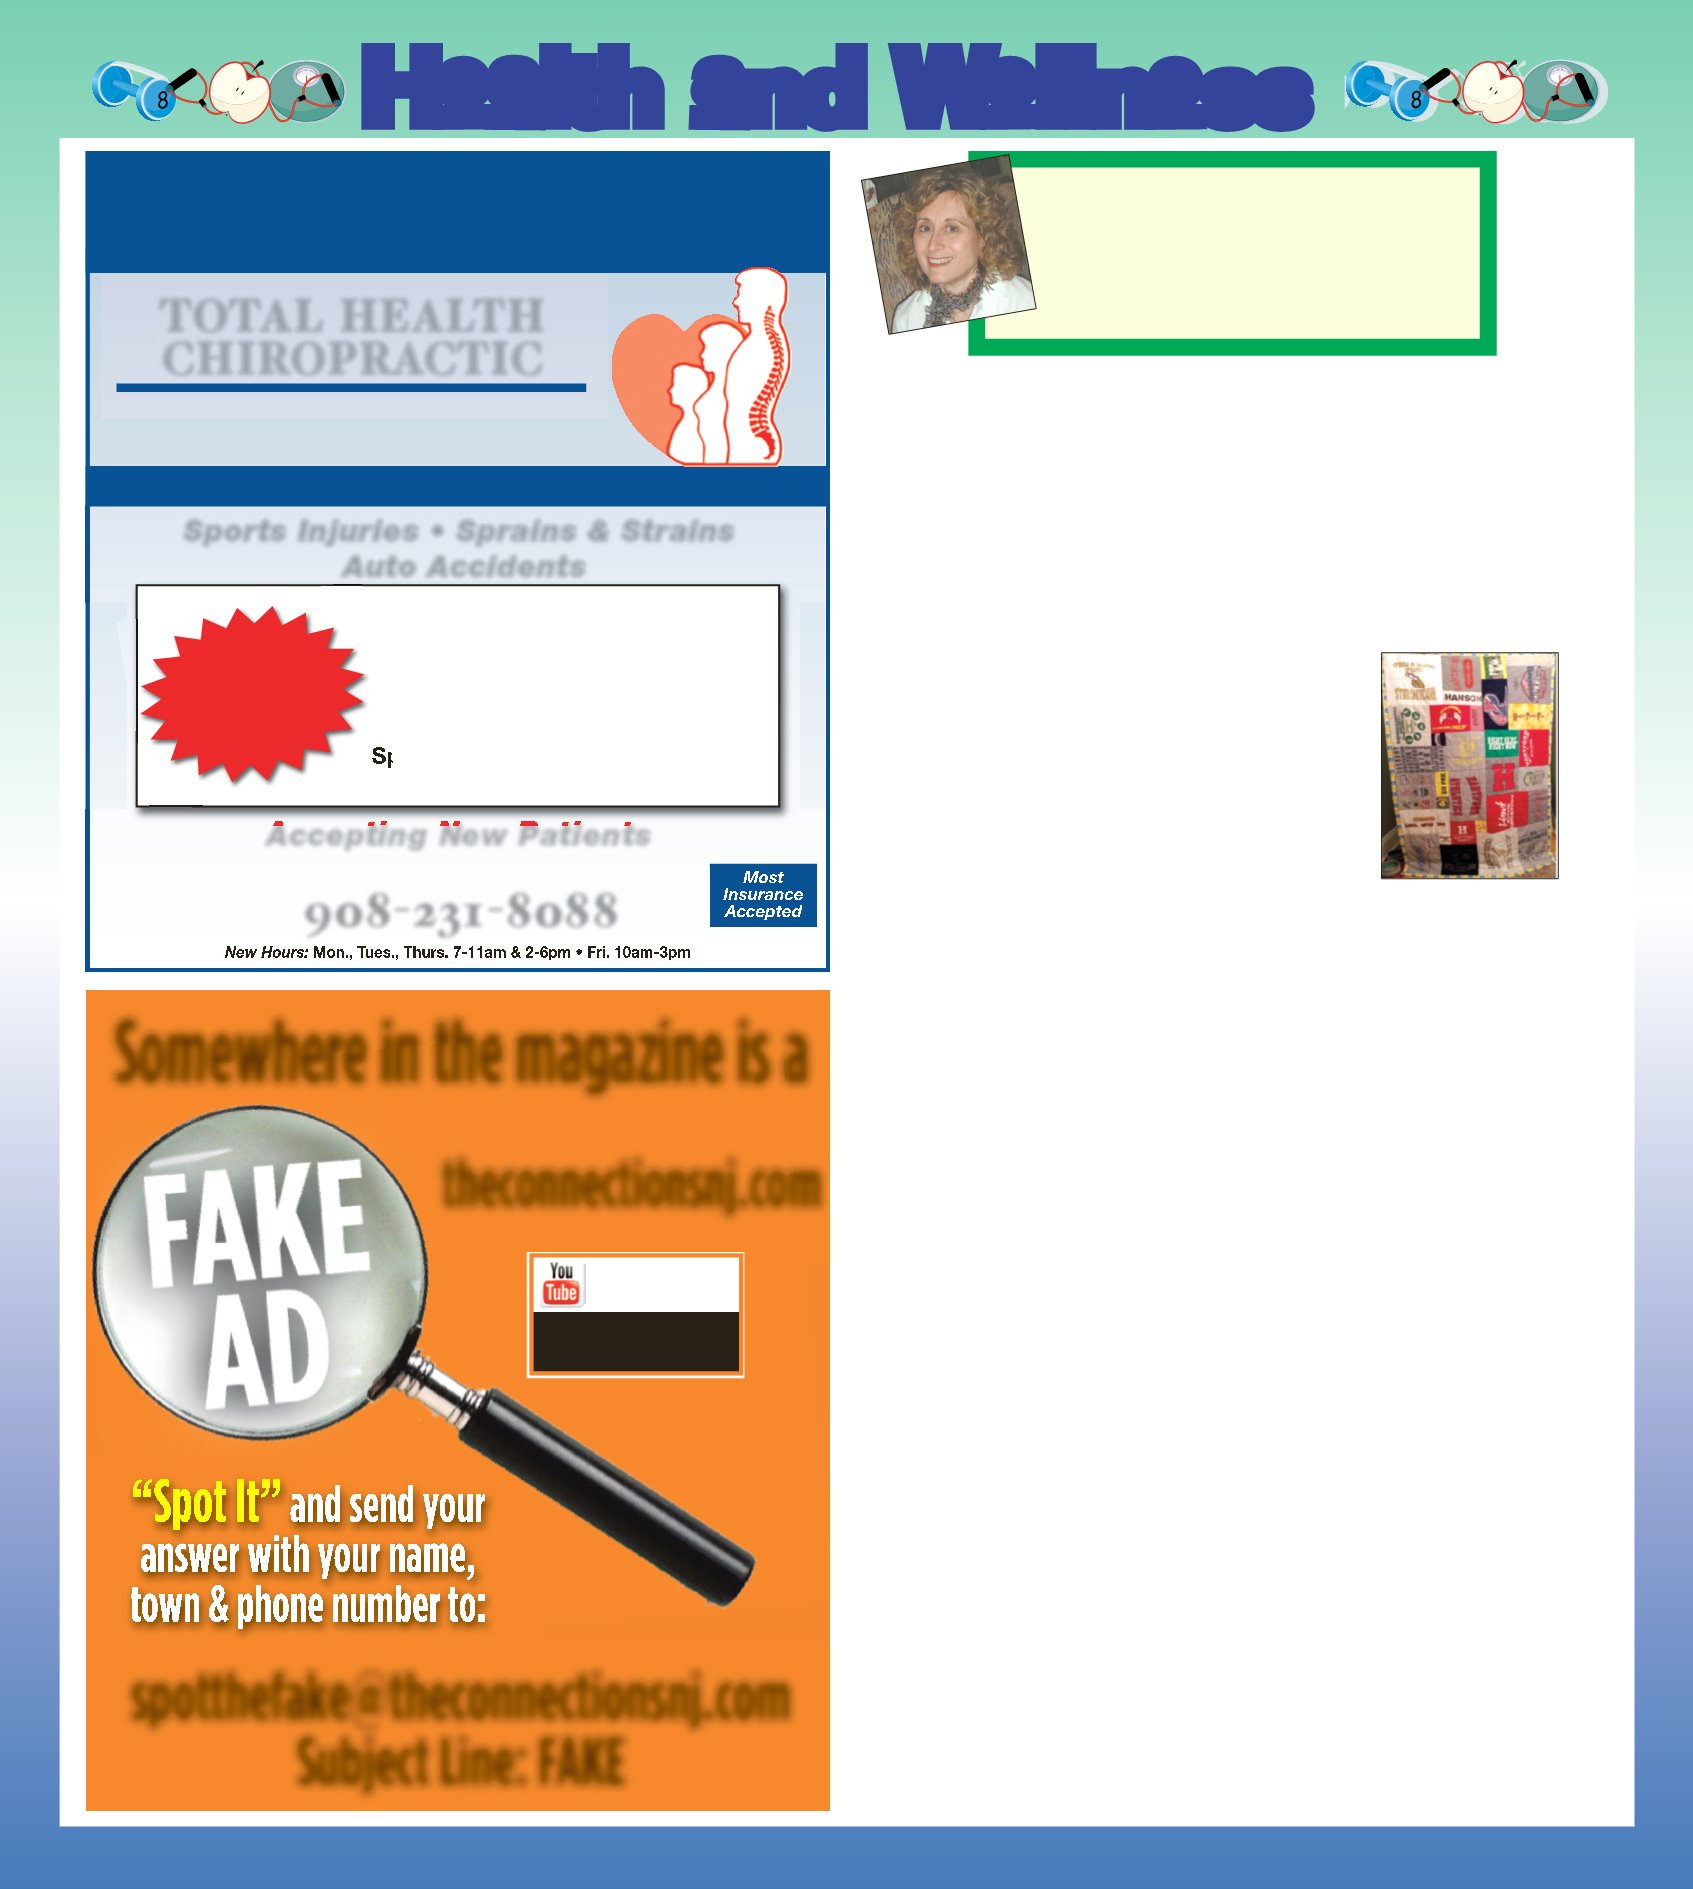
“Spot It” and send your answer with your name, town & phone number to: spotthefake@theconnectionsnj.com Subject Line: FAKE Somewhere in the magazine is a theconnectionsnj.com Memory Quilts: Reuse & Repurpose Loved Items By: Carolyn Hanson After 9 years of running track, and many, many team and event t-shirts, my minimalist daughter decid- ed to purge the lot and create a memory quilt. Of course, I was thrilled…a project to do together, but even more, I love the idea of wrapping her in wonderful memories and having it for decades to share with future generations. Moments are fleeting; memories are more permanent. We want to create memories. Memory quilts became popular in this country following the Civil War. Quilts were made from the clothes of a loved one as a way to remember and keep them close. These types of quilts became famous with the Smithsonian display and later tour of the Gee’s Bend Quilts in 2002. Gorgeous. http://www.whyquiltsmatter.org/welcome/portfolio/episode-5-gees-bend-the-most-famous-quilts-in-america/ If you have a collection of T-Shirts, baby clothes, etc, Pull it together.This is how we did it. Supplies: - 2 dozen T-Shirts in various colors and sizes - Newspaper templates for the blocks/shapes used - Heat Activated Interfacing - Batting or fleece blanket the same dimensions as the quilt top - Quilting thread - Fabric for Quilt backing (slightly larger than quilt top) - Safety pins -50 1-2” for pinning layers together - Quilting thread - Binding (optional) Steps: 1. Decide on a layout/design and select the t-shirts. Make a template for each different size square and add ½” to each side for a seam allowance. For example: a finished 12” x 12” square would need to be cut larger as 13” x 13” to allow for a ½” seam allowance on all sides. Cut all the squares and arrange in the desired design. Center the design in the square. Take a photo so it’s easier to remember the layout. 2. Add Interfacing and Sew together Cut interfacing the same size as each square. Use a steam iron to attach the interfacing to the wrong side of each square. [Note: Interfacing will stabilize the stretchy t-shirt fabric.] Sew blocks together matching corners. Press all seams open. 3. Make a quilt sandwich Cut out the batting to match the quilt top dimensions. Cut out the quilt back 2” larger on all sides than the quilt top. Fold the quilt top in half and half again and mark the quilt center and the center of each side with safety pins. Do the same for the batting and quilt bottom. Make a quilt sandwich by placing the quilt bottom with the right side down, layer on top the batting. Then add the quilt top with the right side up and matching the safety pin markers to the other 2 layers. You now have a quilt sand- wich. Starting at the quilt’s center, safety pin all three layers together. Begin smoothing out the layers and pinning all together radiating from the center. Place pins every 6” until the entire quilt is pinned together. [I also hand basted the entire quilt following the pins so they could be removed in prepara- tion for the next step.] 4. Machine Quilting Decide how to stitch the quilt together. Several options are available: - Stitch into the seam ditch - Choose a quilt design and stitch across all squares. [Our quilt was stitched in the ditch and hori- zontally in 4” intervals since each square was divisible by 4. Fabricland has a long-arm quilter to rent for $75/hr for a minimum of 3 hours. This is great for fancy top-stitching.] - Tie the quilt together by using strands of yarn in each corner of each square through all thicknesses. 5. Add Binding Either add store-bought binding or make your own to cover the edges of the quilt for a finished look. I made the quilt backing 2” larger than the quilt top and used the excess fabric to make the binding. Trim the fabric so the back extends the same amount around the entire quilt. Fold in half and press. Fold the pressed edge over the quilt top and pin in place. Top- stitch through all thicknesses. 6. Sign it. Though we always think we will remember, memories fade. I added our initials and the year. I also used the leftover quilt backing to make a storage sack/pillowcase. I shipped it off with a handwritten note. Maybe she’ll keep it as part of the memory too. Love you, S. [P.S. Until I made this quilt, I had not realized that this is not my first memory blanket. As a teen, I repur- posed my dad’s old army blanket by embroidering small remnants from my handmade clothes. Each 2” patch covered a moth hole. The blanket is a patchwork of colorful, now faded, squares. It was my beach blanket then and still.] Carolyn Hanson is a local knitting and crochet designer, teacher and fiber artist. She can be contacted at cchanson3@gmail.com .


